Mac下配置OpenGL环境
Mac下配置OpenGL环境。
Mac下配置OpenGL
安装homebrew
ruby -e "$(curl -fsSL https://raw.githubusercontent.com/Homebrew/install/master/install)"安装GLEW与GLFW
brew install glewbrew install glfw3
CLion法(推荐)
配置GLAD:
- 打开在线服务(点击这个链接),API选择3.3及以上,Profile选择Core,勾选Options中的Generate a loader,点击GENERATE,会生成一个压缩包,下载。
将子目录中的/include/glad与/include/KHR复制到/usr/Local/include文件夹下。(如果/usr文件夹隐藏,可用快捷键command+shift+G输入访问)
新建一个项目,配置对应的Cmake文件:
1
2
3
4
5
6
7
8
9
10
11
12
13
14
15
16
17
18
19
20
21
22
23
24
25
26
cmake_minimum_required(VERSION 3.12)
project(OpenGL)
set(CMAKE_CXX_STANDARD 14)
set(GLEW_H /usr/local/Cellar/glew/2.1.0/include/GL)
set(GLFW_H /usr/local/Cellar/glfw/3.2.1/include/GLFW)
set(GLAD_H /usr/local/include/glad)
set(KH_H /usr/local/include/KHR)
include_directories(${GLEW_H} ${GLFW_H} ${GLAD_H} ${KH_H})
# 添加目标链接
set(GLEW_LINK /usr/local/Cellar/glew/2.1.0/lib/libGLEW.2.1.dylib)
set(GLFW_LINK /usr/local/Cellar/glfw/3.2.1/lib/libglfw.3.dylib)
link_libraries(${OPENGL} ${GLEW_LINK} ${GLFW_LINK})
# 执行编译命令
# 这个glad.c在第2步中说过要拉到项目中,注意路径
set(SOURCE_FILES "src/glad.c" "main.cpp")
add_executable(OpenGL ${SOURCE_FILES})
if (APPLE)
target_link_libraries(OpenGL "-framework OpenGL")
target_link_libraries(OpenGL "-framework GLUT")
endif()
4. 注意这样配置之后需要更改`/usr/local/include/glad文件夹下的glad.h`中的`#include <KHR/khrplatform.h>`更改为`#include <khrplatform.h>`,具体步骤:
1. 在CLion中打开`glad.c`文件,command+点按`#include <glad.h>`会跳到`glad.h`
2. 然后在`glad.h`中command+f找到`#include <KHR/khrplatform.h>`,将它改为`#include <khrplatform.h>`
5. 运行测试代码(把下列代码复制到main.cpp中):
1
2
3
4
5
6
7
8
9
10
11
12
13
14
15
16
17
18
19
20
21
22
23
24
25
26
27
28
29
30
31
32
33
34
35
36
37
38
39
40
41
42
43
44
45
46
47
48
49
50
51
52
53
54
55
56
57
58
59
60
61
62
63
64
65
66
67
68
69
using namespace std;
void key_callback(GLFWwindow* window, int key, int scancode, int action, int mode)
{
//如果按下ESC,把windowShouldClose设置为True,外面的循环会关闭应用
if(key==GLFW_KEY_ESCAPE && action == GLFW_PRESS)
glfwSetWindowShouldClose(window, GL_TRUE);
std::cout<<"ESC"<<mode;
}
int main(void)
{
//初始化GLFW库
if(!glfwInit())
return -1;
//创建窗口以及上下文
GLFWwindow* window = glfwCreateWindow(640, 480, "hello world", NULL, NULL);
if(!window)
{
//创建失败会返回NULL
glfwTerminate();
}
//建立当前窗口的上下文
glfwMakeContextCurrent(window);
glfwSetKeyCallback(window, key_callback); //注册回调函数
//循环,直到用户关闭窗口
while(!glfwWindowShouldClose(window))
{
/*******轮询事件*******/
glfwPollEvents();
/*******渲染*******/
//选择清空的颜色RGBA
glClearColor(0.2, 0.3, 0.3, 1);
glClear(GL_COLOR_BUFFER_BIT);
//开始画一个三角形
glBegin(GL_TRIANGLES);
glColor3f(1, 0, 0); //Red
glVertex3f(0, 1, 1);
glColor3f(0, 1, 0); //Green
glVertex3f(-1, -1, 0);
glColor3f(0, 0, 1); //Blue
glVertex3f(1, -1, 0);
//结束一个画图步骤
glEnd();
glBegin(GL_POLYGON);
//再画个梯形,需要注意笔顺
glColor3f(0.5, 0.5, 0.5); //Grey
glVertex2d(0.5, 0.5);
glVertex2d(1, 1);
glVertex2d(1, 0);
glVertex2d(0.5, 0);
glEnd();
/******交换缓冲区,更新window上的内容******/
glfwSwapBuffers(window);
}
glfwTerminate();
return 0;
}
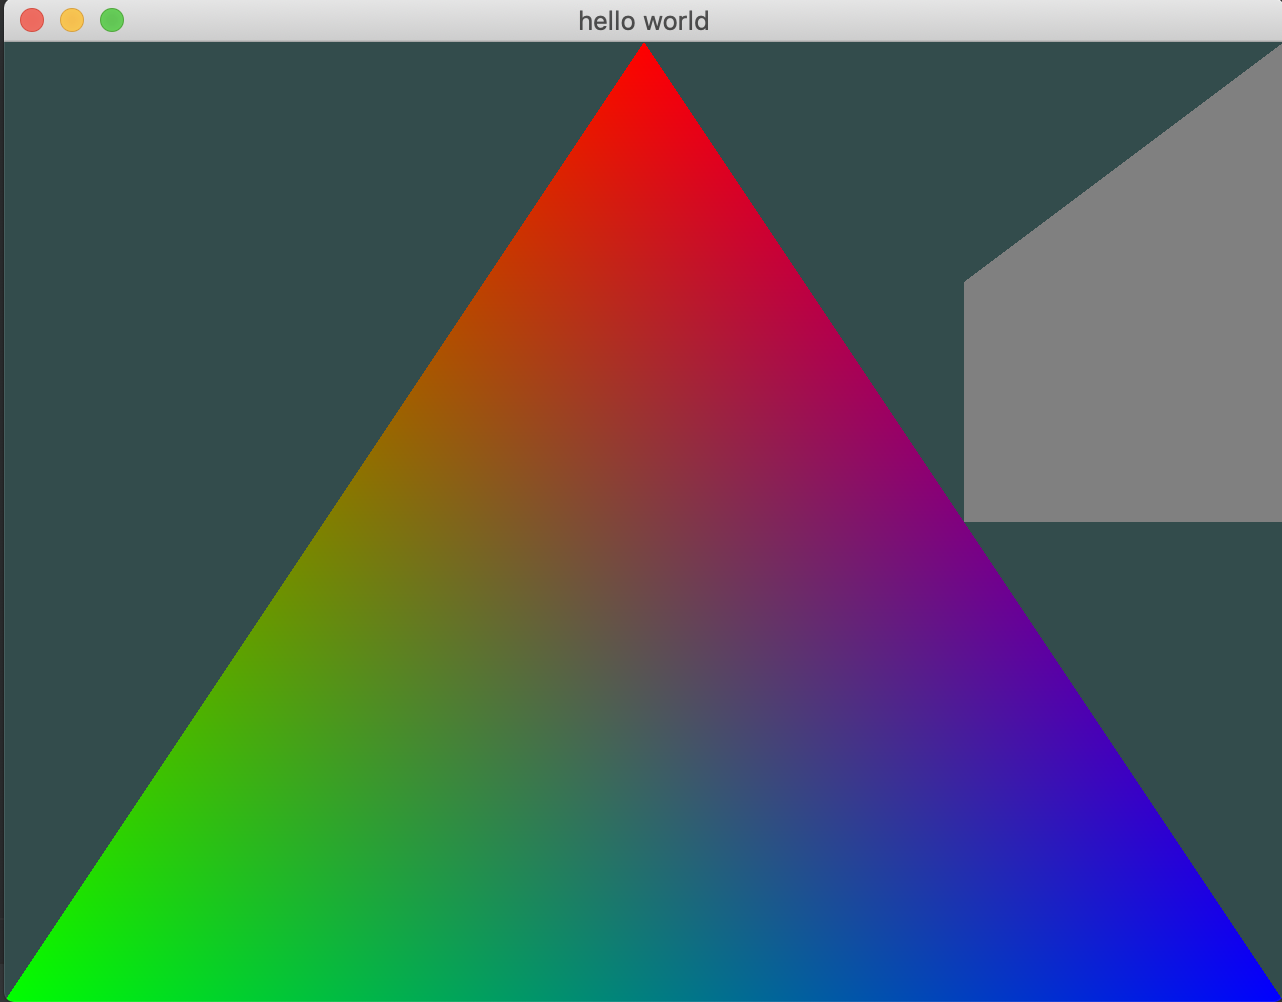
如果出现如下窗口说明配置成功:
XCode法
在App Store中搜索XCode并安装。
新建Xcode的Command Line C++项目,在
build settings中设置Header Search Path与Library Search Path,在其中添加对应的glew与glfw的头文件(include)与库文件(lib)路径。在
build Phases中添加库文件
(在对应的文件夹中将两个/.dylib的文件直接拖拽进来)配置GLAD:
- 打开在线服务(点击这个链接),API选择3.3及以上,Profile选择Core,勾选Options中的Generate a loader,点击GENERATE,会生成一个压缩包,下载。
- 将子目录中的/include/glad与/include/KHR复制到/usr/Local/include文件夹下。(如果/usr文件夹隐藏,可用快捷键command+shift+G输入访问)
- 将/src中的glad.c复制到Xcode工程文件夹下。
- 在
build settings中添加路径/usr/local/include
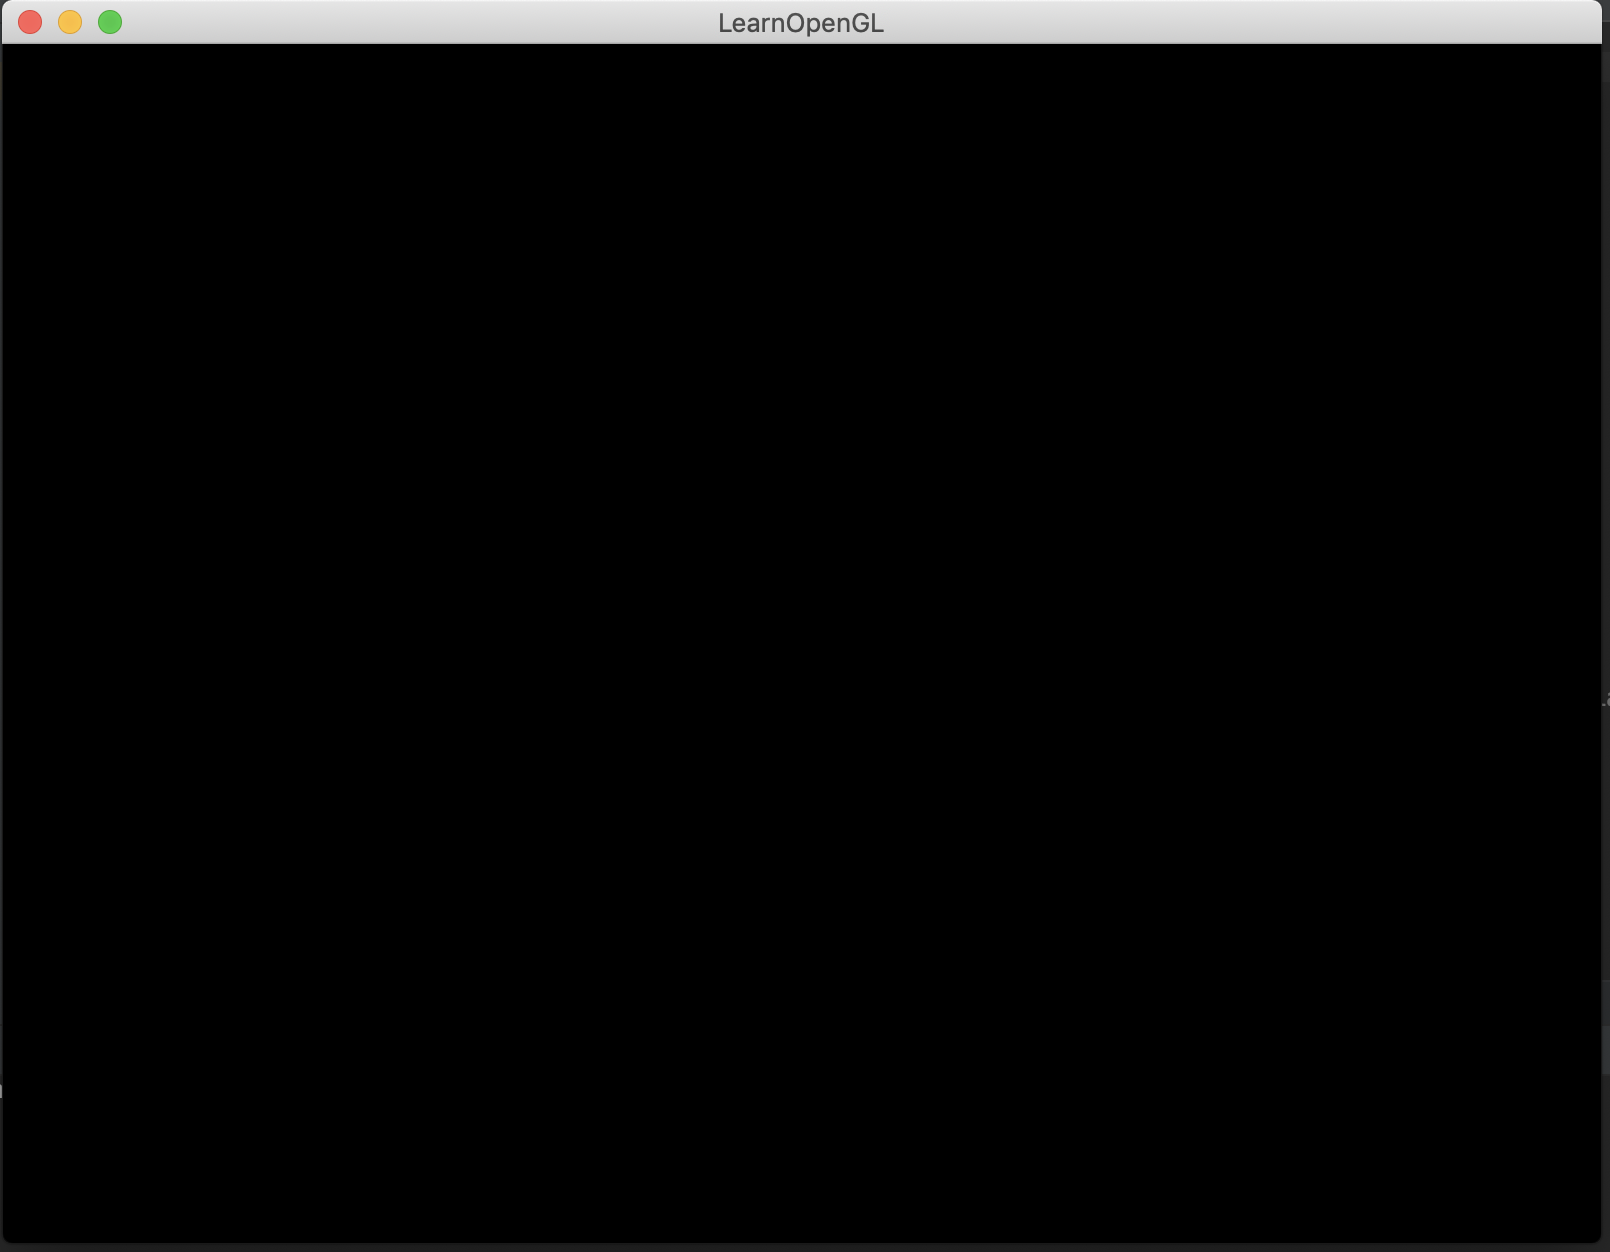
此时如果不出意外的话,你的第一个测试程序已经可以运行了,点击测试代码,复制到自己的.cpp文件中执行,会出现一个黑色窗口。(或者直接复制下面的代码)
1
2
3
4
5
6
7
8
9
10
11
12
13
14
15
16
17
18
19
20
21
22
23
24
25
26
27
28
29
30
31
32
33
34
35
36
37
38
39
40
41
42
43
44
45
46
47
48
49
50
51
52
53
54
55
56
57
58
59
60
61
62
63
64
65
66
67
68
69
70
71
72
73
74
75
76
77
78
79
80
81
void framebuffer_size_callback(GLFWwindow* window, int width, int height);
void processInput(GLFWwindow *window);
// settings
const unsigned int SCR_WIDTH = 800;
const unsigned int SCR_HEIGHT = 600;
int main()
{
// glfw: initialize and configure
// ------------------------------
glfwInit();
glfwWindowHint(GLFW_CONTEXT_VERSION_MAJOR, 3);
glfwWindowHint(GLFW_CONTEXT_VERSION_MINOR, 3);
glfwWindowHint(GLFW_OPENGL_PROFILE, GLFW_OPENGL_CORE_PROFILE);
glfwWindowHint(GLFW_OPENGL_FORWARD_COMPAT, GL_TRUE); // uncomment this statement to fix compilation on OS X
// glfw window creation
// --------------------
GLFWwindow* window = glfwCreateWindow(SCR_WIDTH, SCR_HEIGHT, "LearnOpenGL", NULL, NULL);
if (window == NULL)
{
std::cout << "Failed to create GLFW window" << std::endl;
glfwTerminate();
return -1;
}
glfwMakeContextCurrent(window);
glfwSetFramebufferSizeCallback(window, framebuffer_size_callback);
// glad: load all OpenGL function pointers
// ---------------------------------------
if (!gladLoadGLLoader((GLADloadproc)glfwGetProcAddress))
{
std::cout << "Failed to initialize GLAD" << std::endl;
return -1;
}
// render loop
// -----------
while (!glfwWindowShouldClose(window))
{
// input
// -----
processInput(window);
// glfw: swap buffers and poll IO events (keys pressed/released, mouse moved etc.)
// -------------------------------------------------------------------------------
glfwSwapBuffers(window);
glfwPollEvents();
}
// glfw: terminate, clearing all previously allocated GLFW resources.
// ------------------------------------------------------------------
glfwTerminate();
return 0;
}
// process all input: query GLFW whether relevant keys are pressed/released this frame and react accordingly
// ---------------------------------------------------------------------------------------------------------
void processInput(GLFWwindow *window)
{
if(glfwGetKey(window, GLFW_KEY_ESCAPE) == GLFW_PRESS)
glfwSetWindowShouldClose(window, true);
}
// glfw: whenever the window size changed (by OS or user resize) this callback function executes
// ---------------------------------------------------------------------------------------------
void framebuffer_size_callback(GLFWwindow* window, int width, int height)
{
// make sure the viewport matches the new window dimensions; note that width and
// height will be significantly larger than specified on retina displays.
glViewport(0, 0, width, height);
}
如果运行出现如下窗口,说明配置成功:
参考: